Hi there,
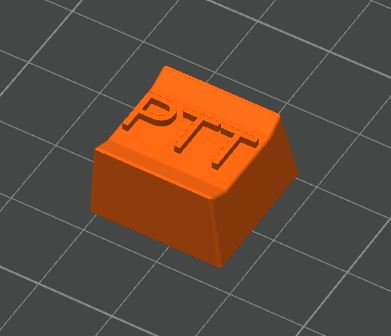
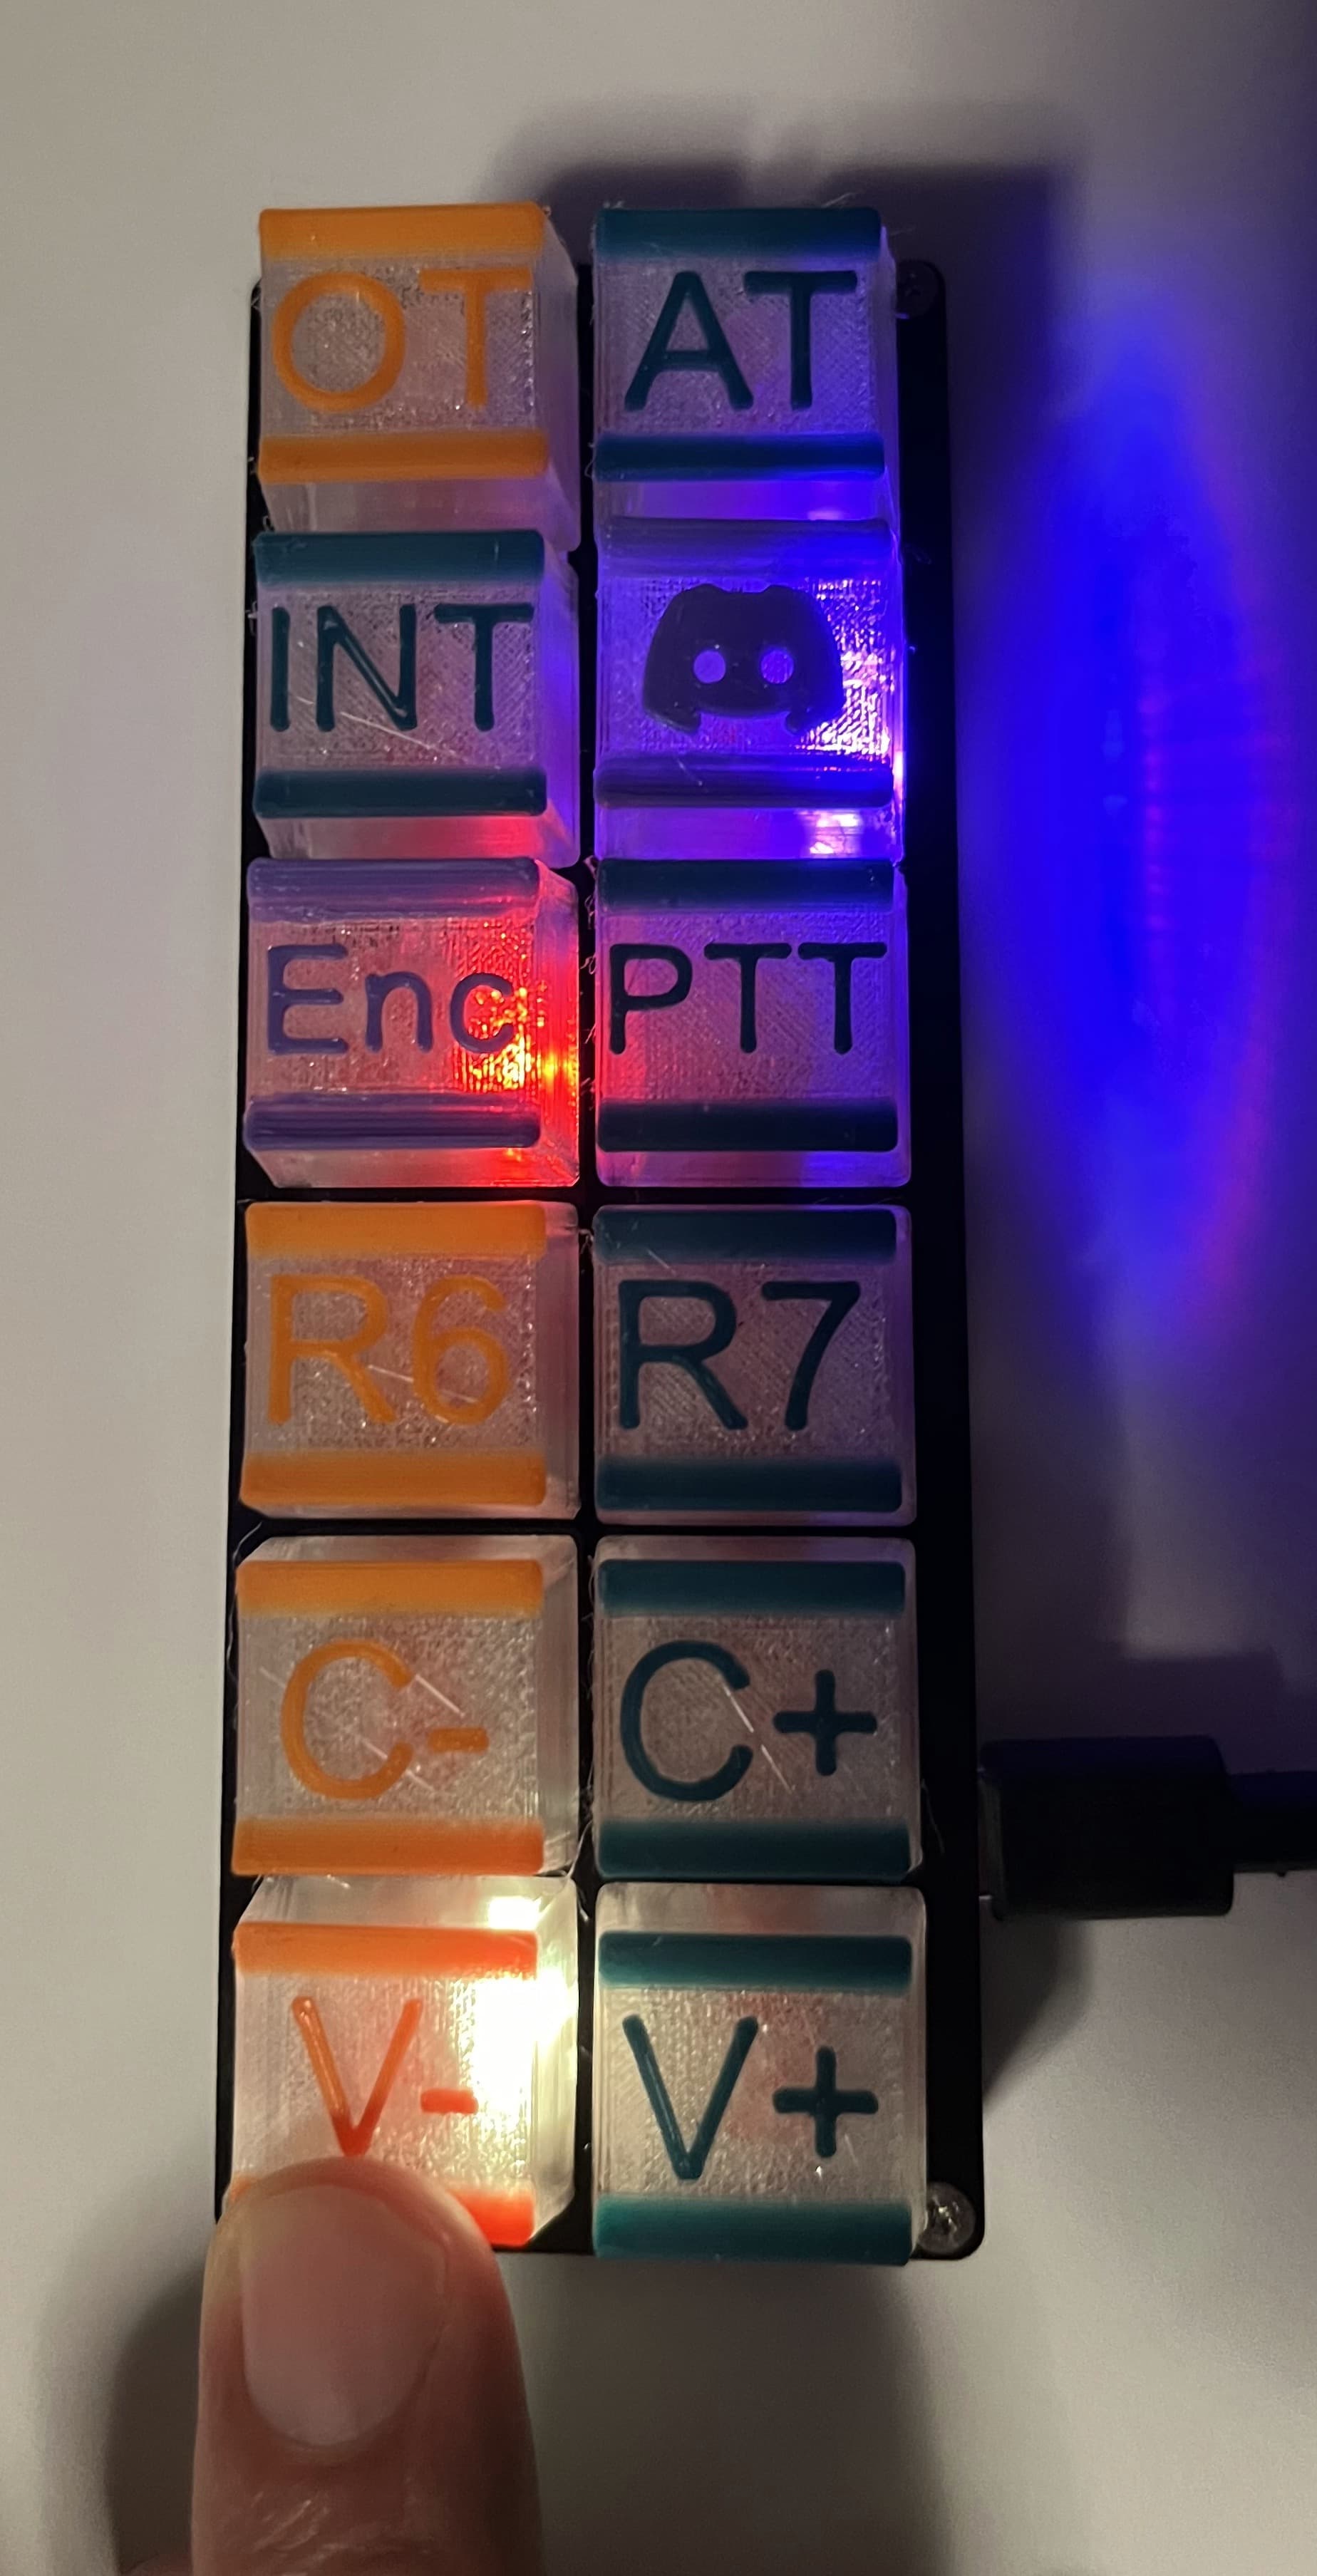
if you use a Soyo Device (programable keyboard with 6, 12 or 24 Buttons) in combination with the ADI SRS Setup, you may get annoyed with the all black keycaps from the devices. One way is using a white pen to mark them, a better way is to print your own, individual Key Caps as a replacement of the black ones. As the Soyo Device also can use RGB colors to highlight buttons or when pressed, translucent keycaps are a big improvement
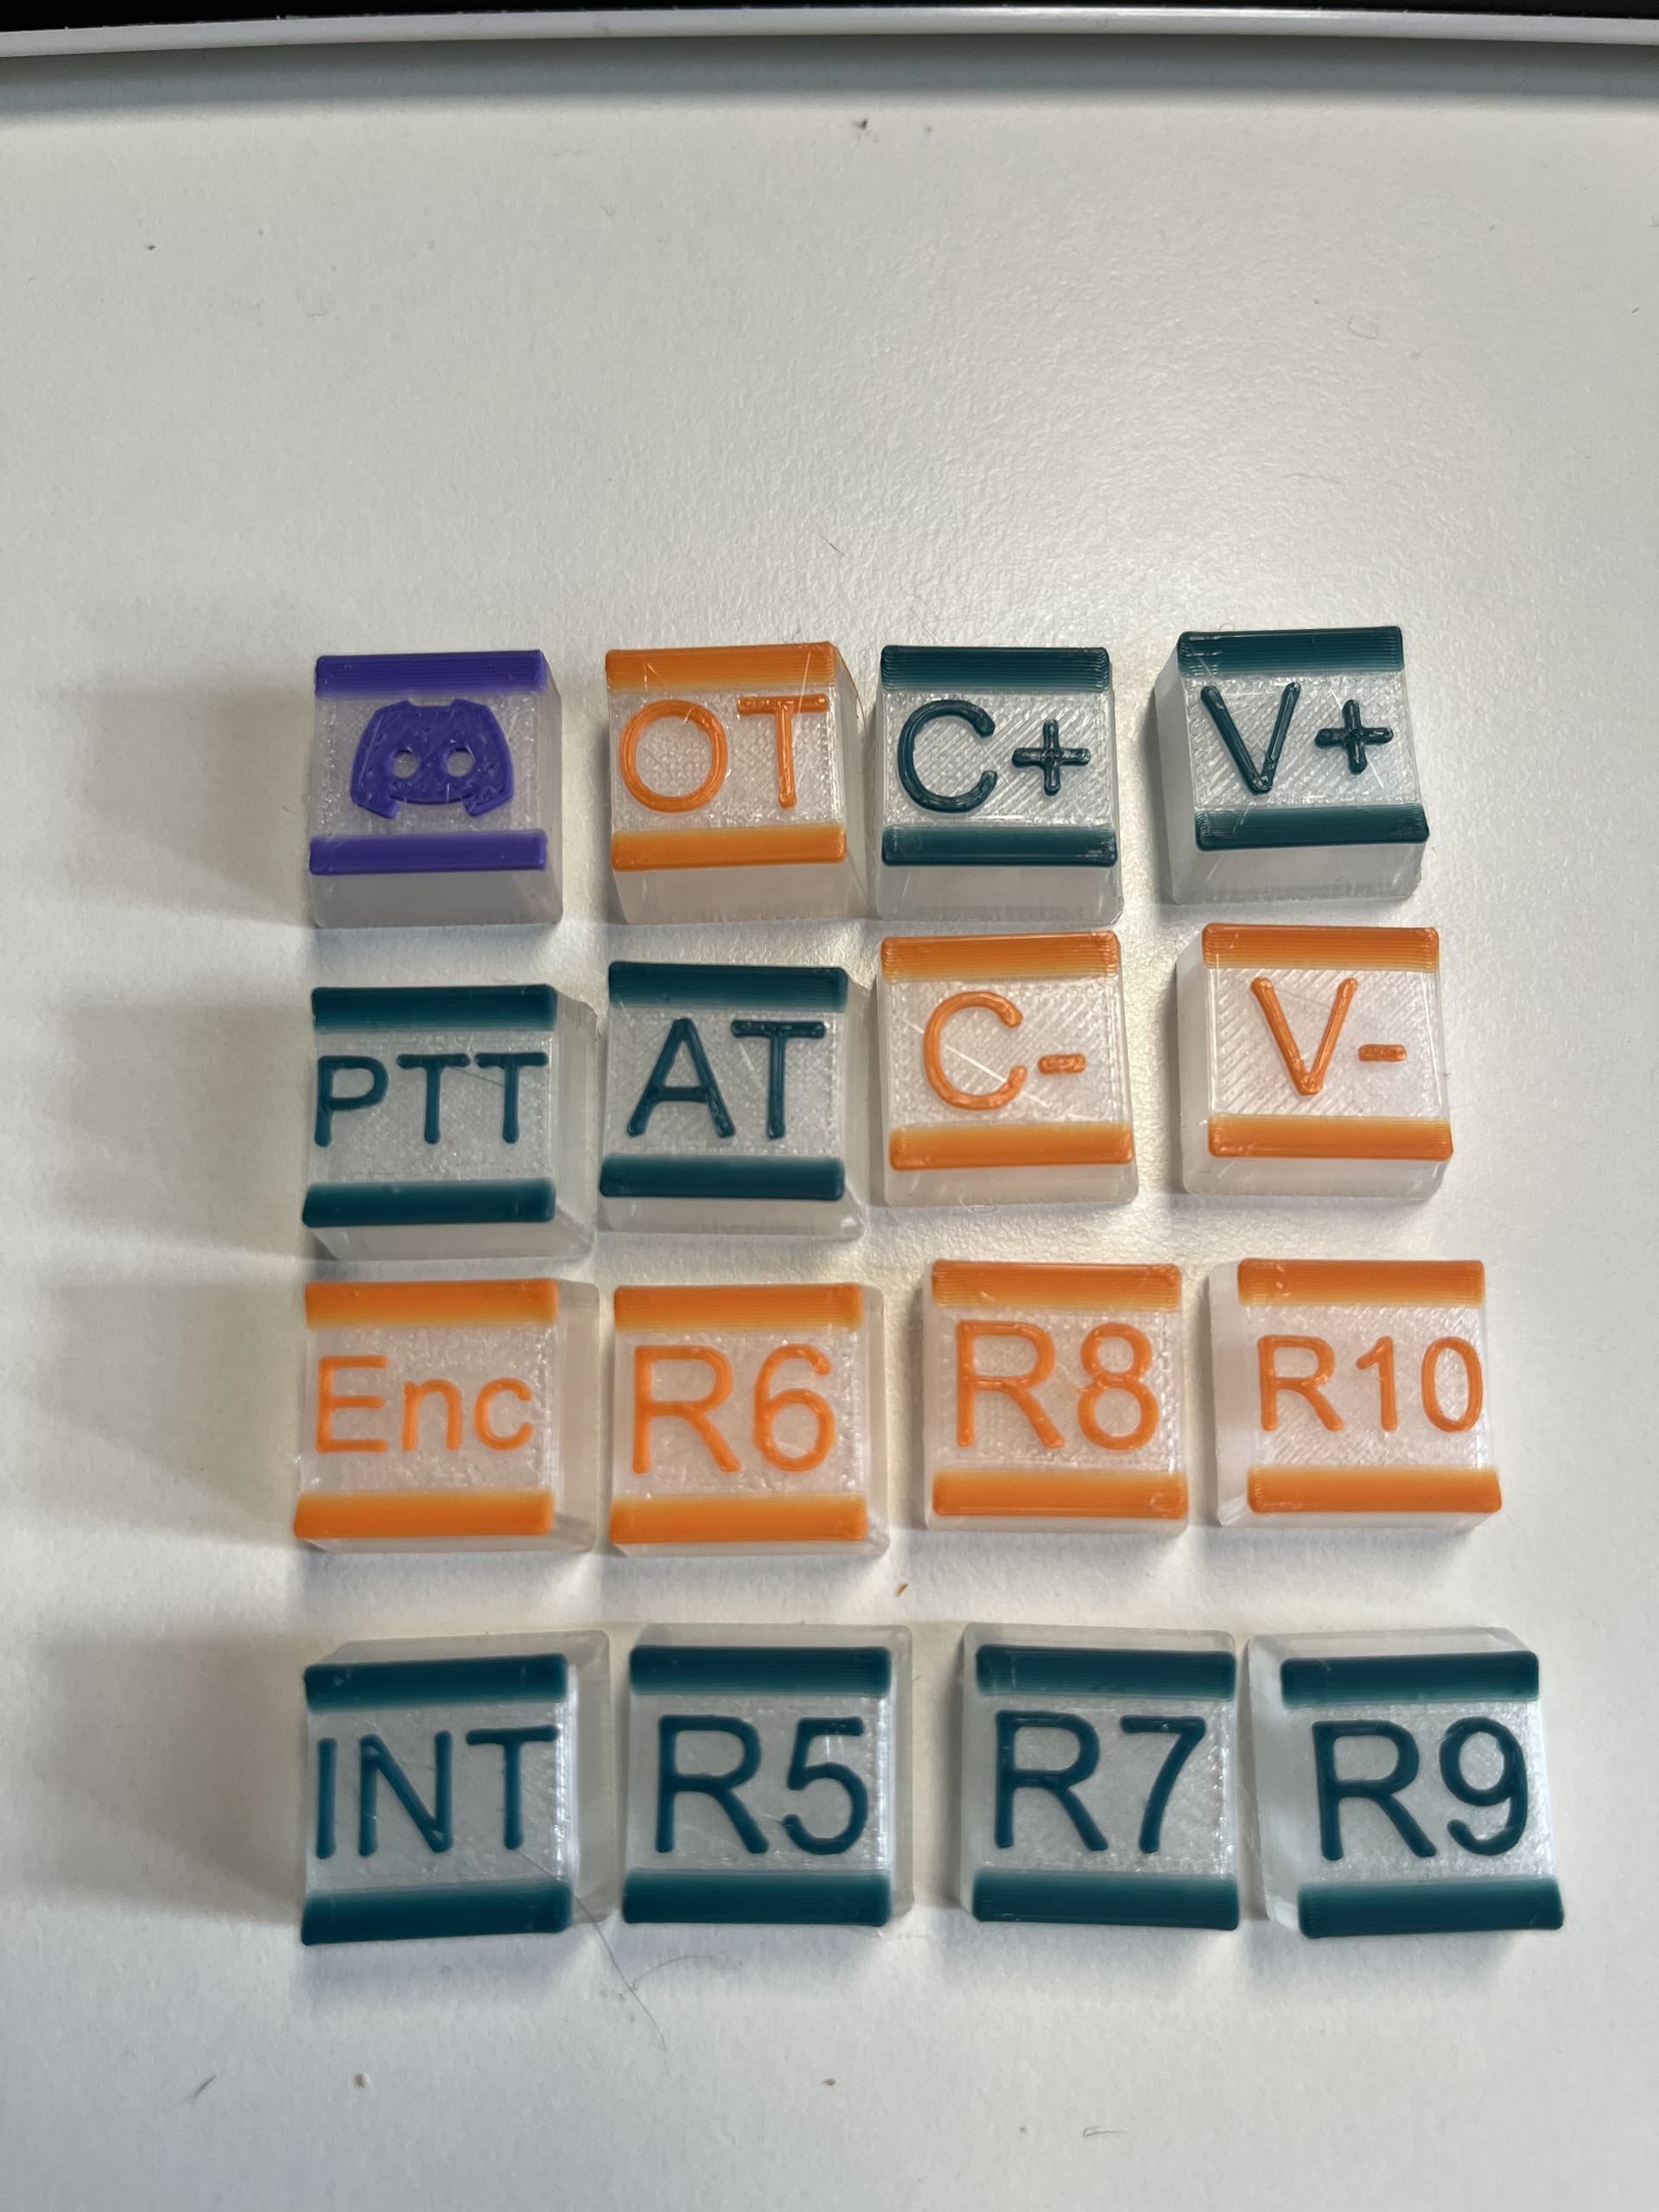
I created some key caps for this use and i’m now at my third itteration and want to share the files with you. So everybody here in the org can print their Caps on their own printer or ask a friend to print them. The files i created are optimized for FDM and Resin/SLA printers, please choose the correct files for your printer type. If your FDM Printer supports multi color prints, you can print the base in a translucent color and the top in a solid color (see my examples for this)

Download the Files here:
FDM Printer Files
SLA/Resin Printer Files
It took me several hours to create this files, so please keep them private and don’t upload them on other websites or try to sell them.
I tested the files on my BambuLab A1 FDM Printer with AMS (Multi Color Printing) and on my Anycubic Photon Mono Resing Printer.
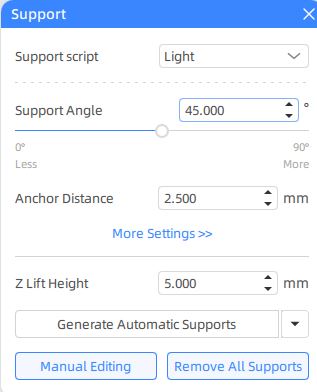
For best printing, use manual placed tree support with FDM and Resin printers!
FDM Instructions:
Nozzle: 0.4 mm
Layerhight: 0.2 mm
Material: PLA (transparent & solid)
Tested Printer: BambuLab A1 with AMS
Slicer: BambuLab Studio
Material Settings etc. leave on standard
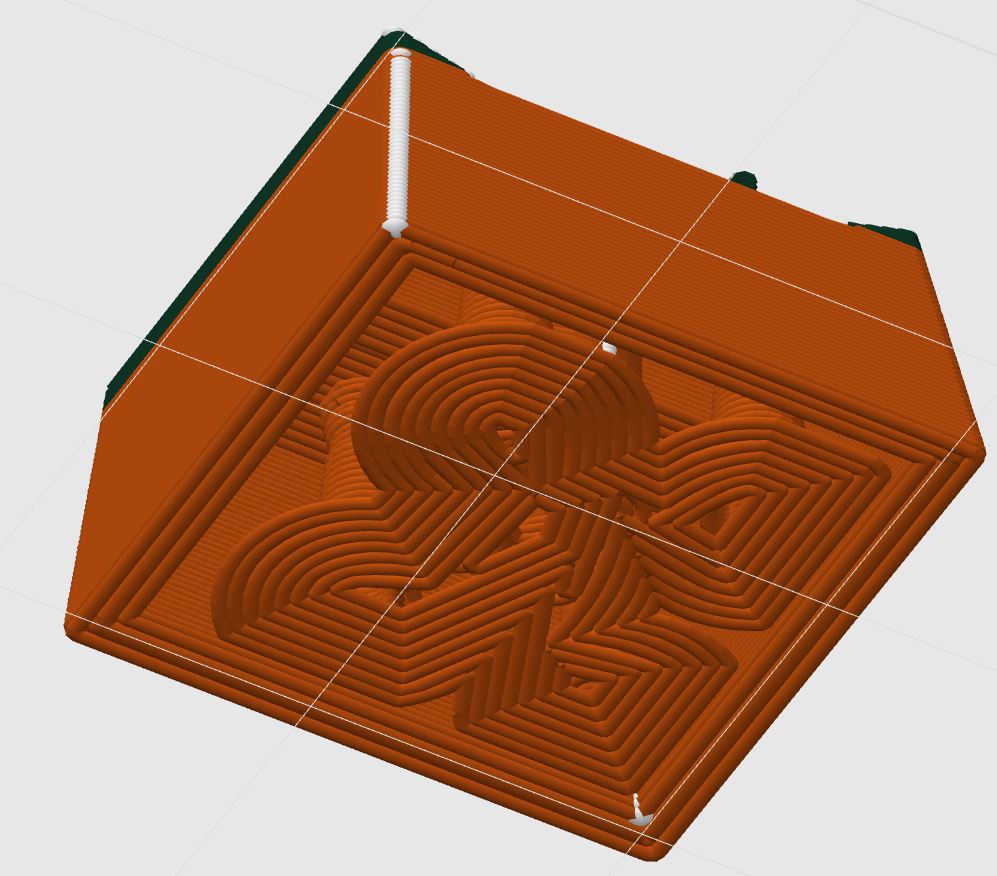
Place the keycaps directly on the plate for best results
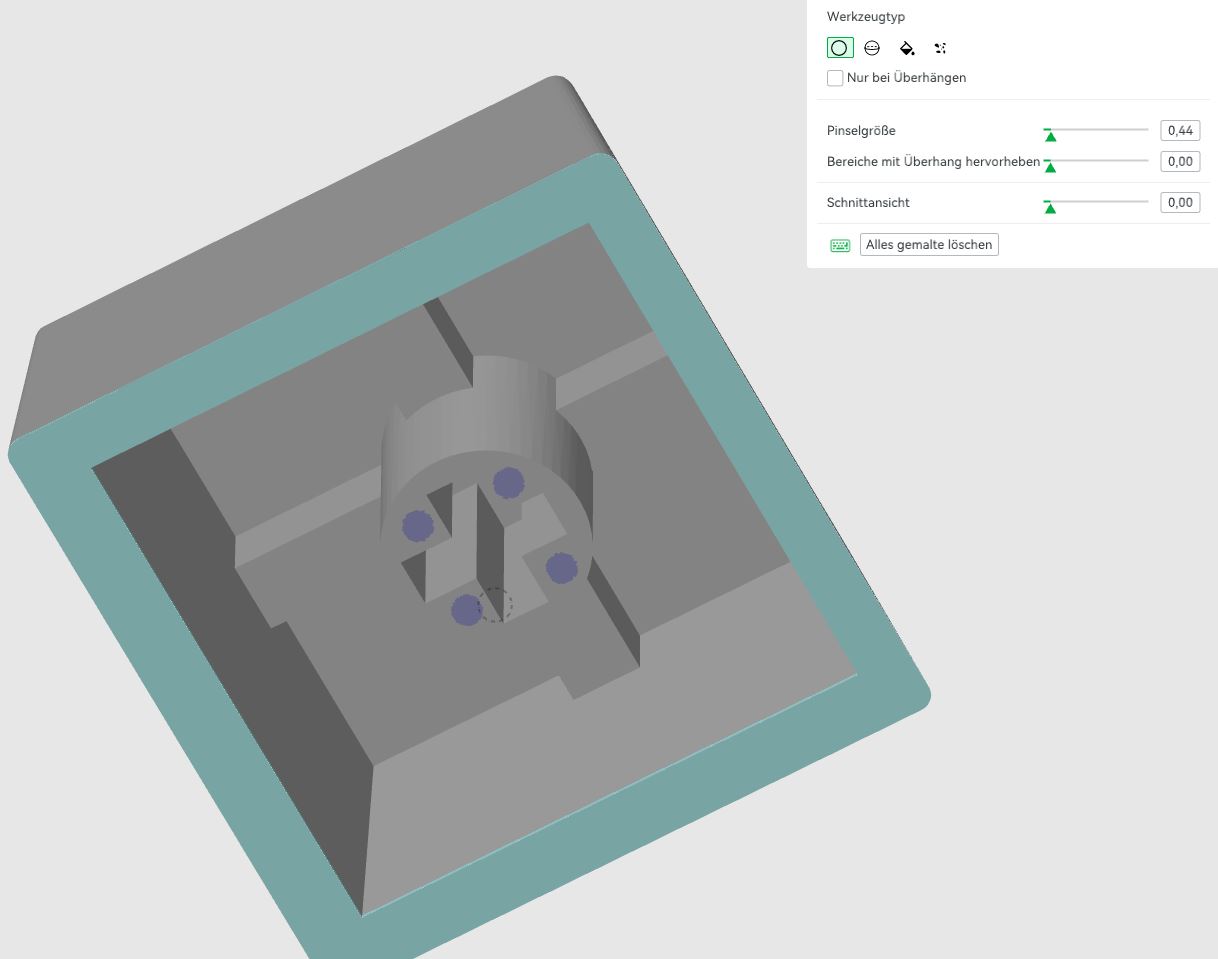
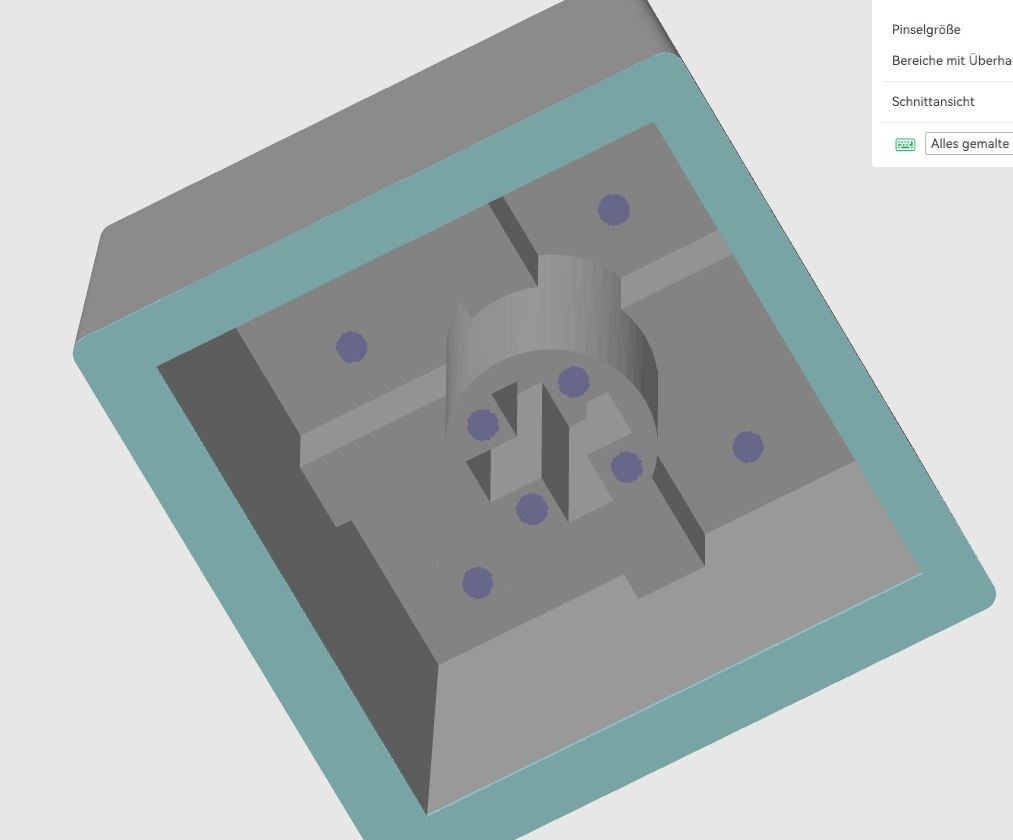
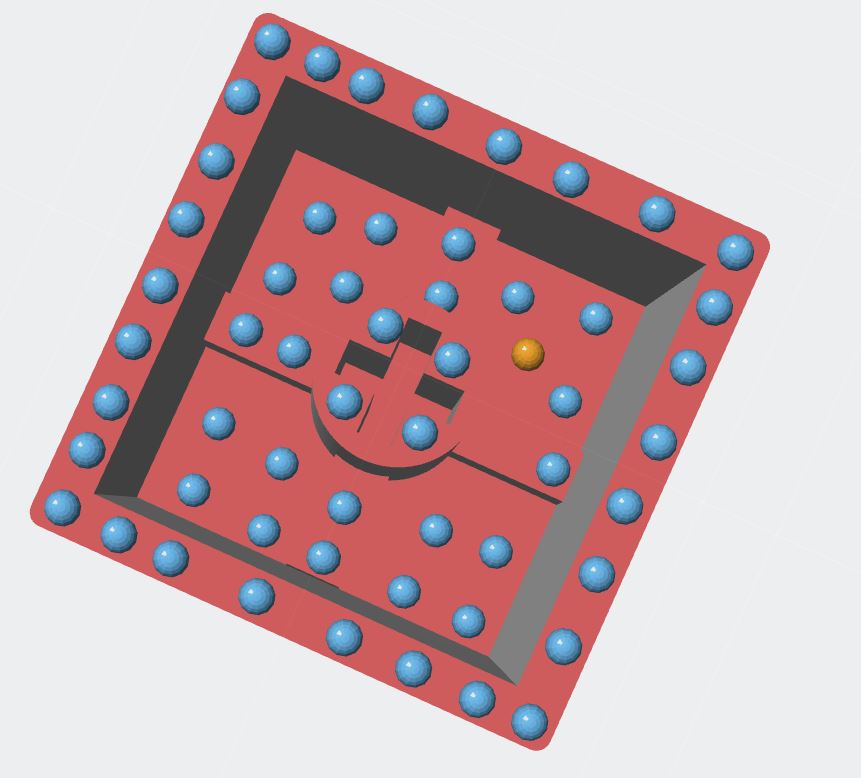
Manually place the supports for the connector and optional for the ceiling/top of the cap, make sure, that you don’t place any point for support inside of the + axis. I used support with about 0.4 mm thickness, you can see the position of the support in the screenshots below (purple dots)
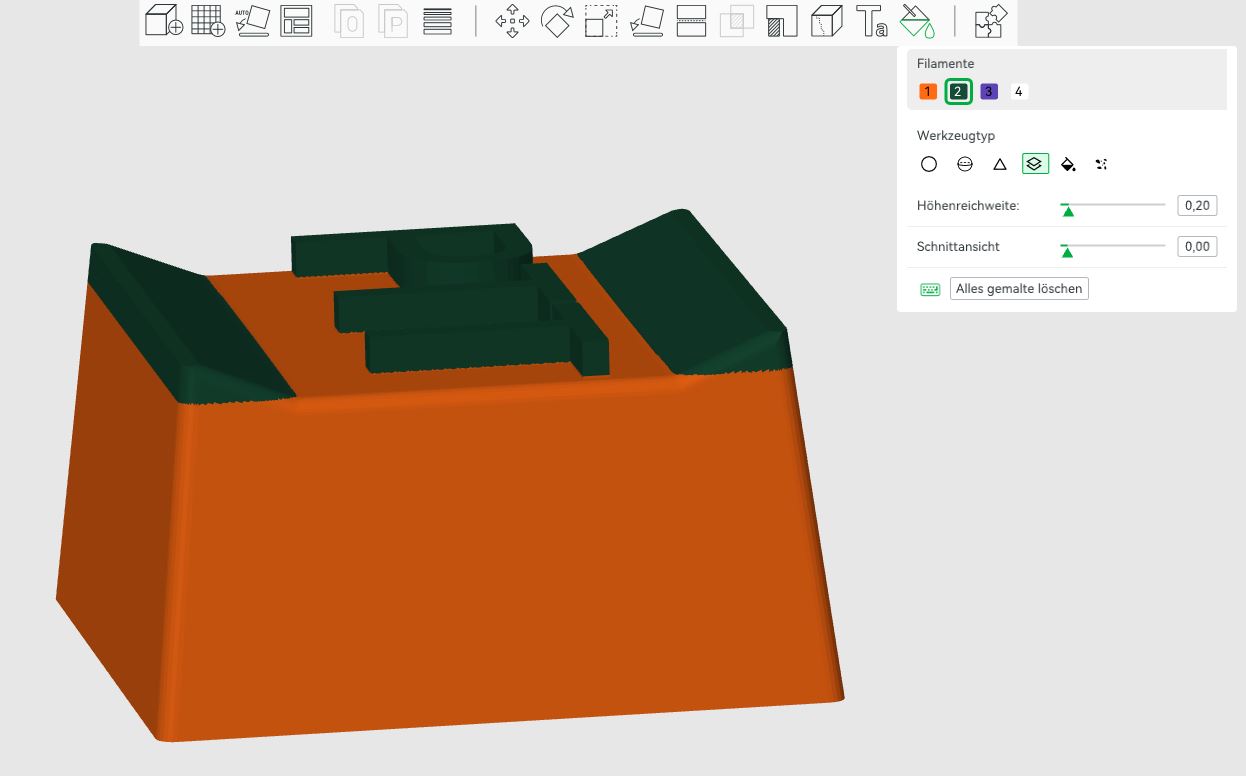
If you want to have a different color for the Information on the cap, use a color change for layers in BambuLab or with normal FDM Printers, add a pause and manual filament change right on top of the “roof” of the cap:
You can place multiple caps on the same print bed. After a test slice, your cap should look like this from the bottom, it’s important, that there is some space between the outer hull of the cap and the support:
Resin printer setting:
Material: transparent clear Anycubic resing
Tested Printer: Anycubic Photon Mono
Slicer: Anycubic Photon Workshop
Leave all other parameters to standard
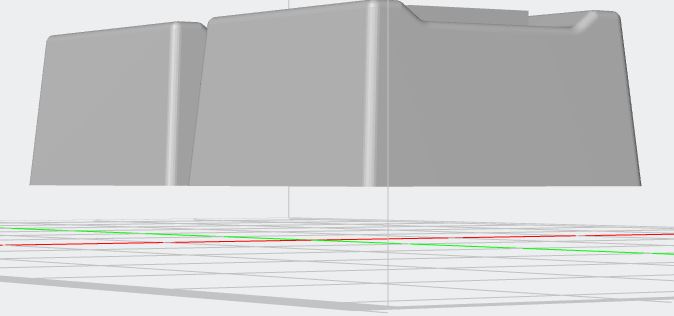
Place the caps 3-4 mm above the printplate, bottom of cap facing towards the plate, don’t place it directly on the plate! You can also give the cap some rotation, if you want, but it’s not needed:
Manually place all the supports, with resin printer, you need to have more support than on FDM Printers
Your print should now look like this:

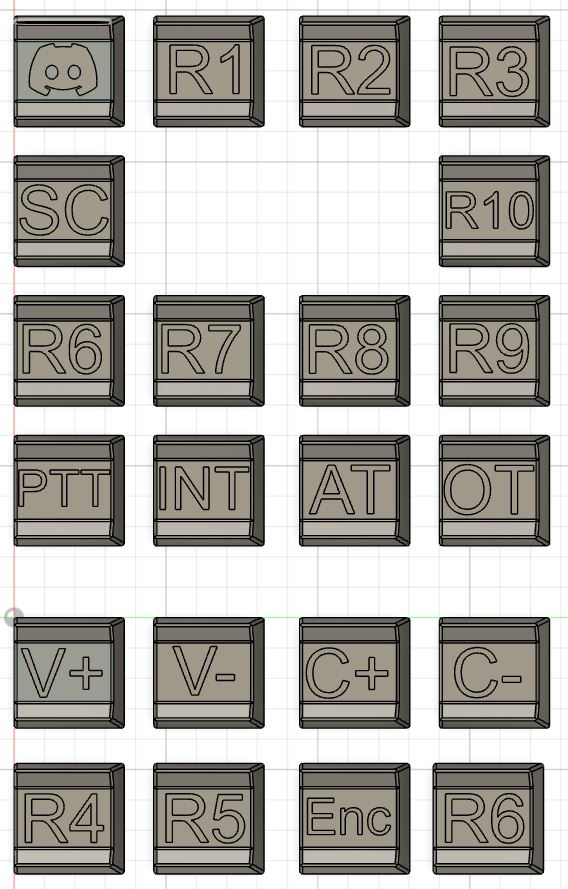
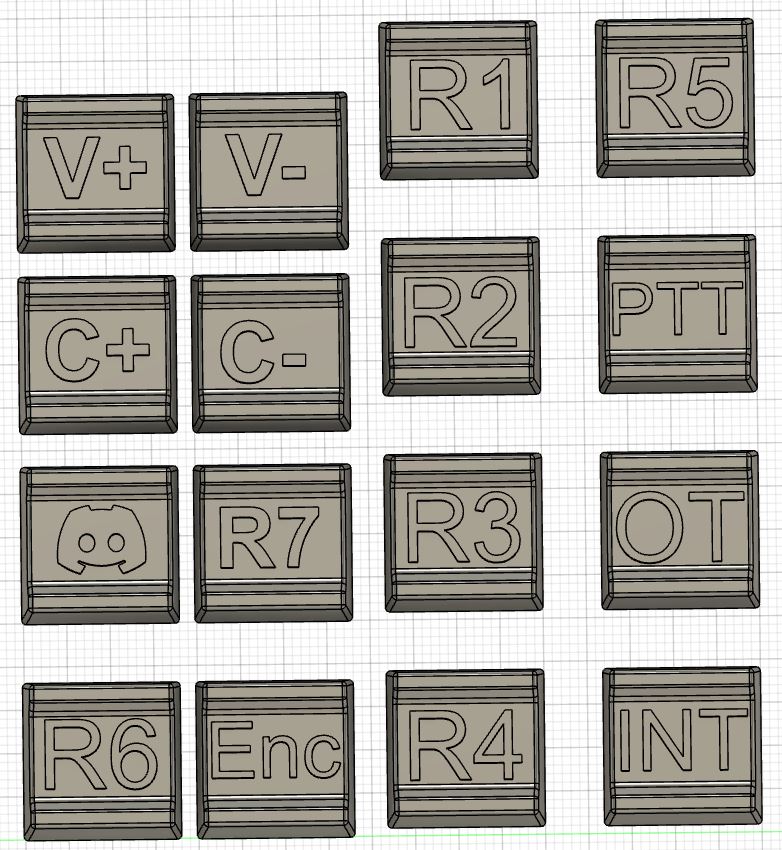
The following STLs are in the download zip:
Examples of finished versions:
Fully assembled Soyo 2x6 DEvice (12 Buttons) with light configuration for buttons (Discord has a blueish/pruple light, which fades out when pressed and Enc has a permanent red light, other buttons light up when pressed):
When assembling the FDM Versions, the first press sometimes needs a bit more pressure, until the cap snaps on the keyswitch
The SLA/Resin caps are more accurate of the meassurements, the FDM files have a bit more tolerances. If you print the FDM Version on a resin printer, the caps are to loose and will fall off. If you print the SLA/Resin versions on an FDM printer, the caps won’t fit on the keyswitch and you may destroy the switch. So make sure, you use the correct version
If you want a special text on the cap or a logo, you can contact me via DM. I need an SVG File for Logos and they should not be to complicated - otherwise, the print won’t look pretty.